

Introducing Beamr Blogger – Eliezer (Eli) Lubitch, President
Hi, my name is Eliezer Lubitch, but everyone calls me Eli. As the President of Beamr, I basically think, eat, sleep, breath and even dream…
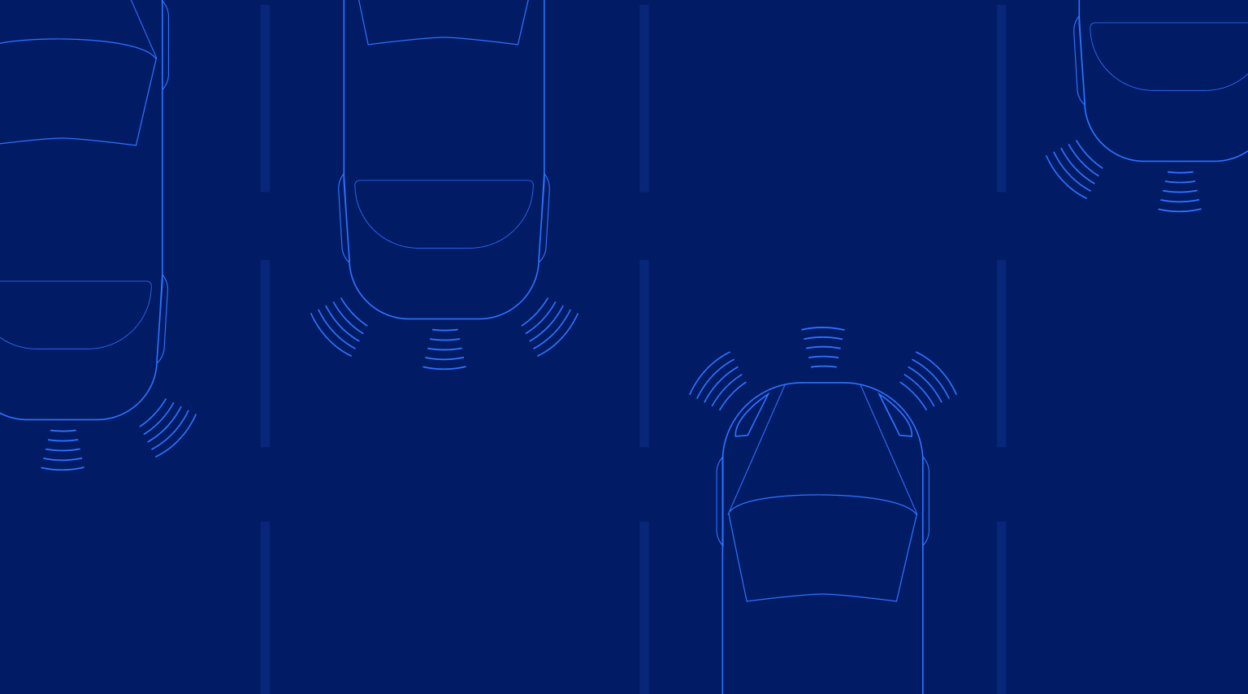
Why The Future of Sports Broadcasting Must Keep Pace with Live Streaming Adoption
Today’s sports fans expect digital availability everywhere and their viewing expectations are constantly rising. As fans have more choices to…

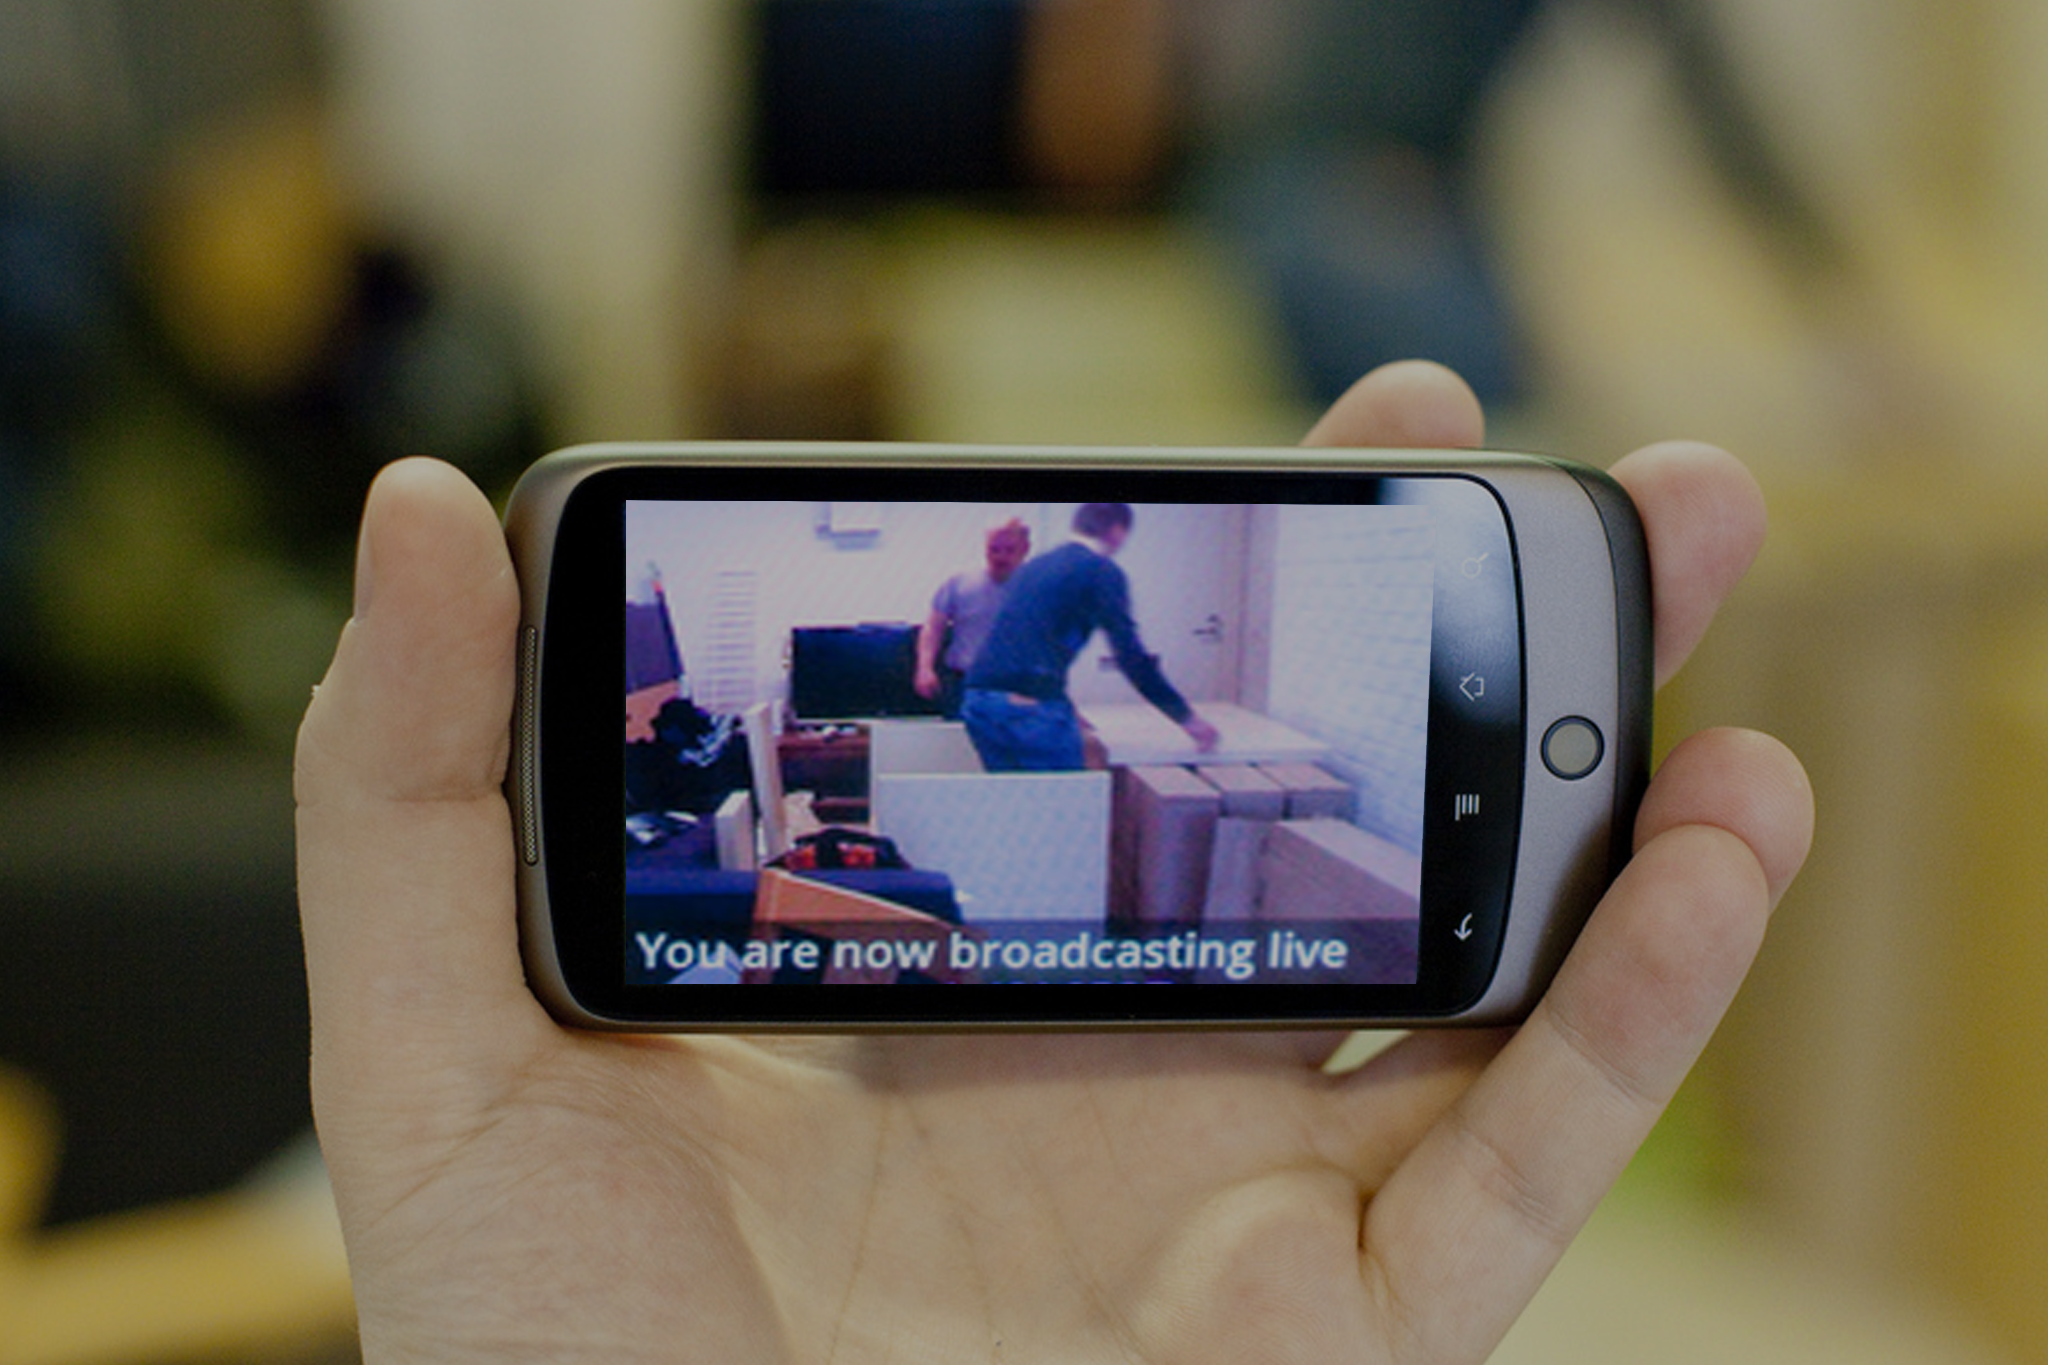
Whatever Happened to Mobile Broadcast TV?
10 years ago I was working as an independent consultant, specializing in mobile video technologies and services. I helped companies such as…
Live Streaming: It’s a Whole Different Ball Game
The market for OTT live streaming is not only on the rise, but is also becoming a larger part of the overall OTT streaming market in general.…

Beamr Video Cloud Service 101: How to Use the REST API
Introduction Cloud-based video optimization offers a solution that is cost-efficient, scalable and seamlessly integrated into a video…

Driving the Mobile Visual Communication Revolution
Beamr to Present JPEGmini at Mobile Photo Connect on September 29 As image technology experts, the crux of our corporate mission has been to…

Joining Forces to Create a Better Streaming Experience
Streaming terabytes of video is complicated – and as expectations for high-quality video delivery increase daily, the undertaking only gets…

Why Closed-loop Perceptual Quality Measuring Beats All Other Optimization Methods
The market is heating up with solutions that claim to reduce the size of video files by impressive percentages, some up to 50%. But reducing…

Beamr @ IBC 2015
The Beamr team is already at the International Broadcasting Convention (IBC) in Amsterdam, setting up for a great show. This is where we can…

Over the Top: The War for TV is Heating Up in Q3
Video Compression Taking Center Stage TV is at a tipping point. Over the top, or OTT, is the industry term for video content delivered over…